Welcome to My Colombian Recipes where you'll find hundreds of popular and traditional Colombian food recipes from my family's kitchen to yours, plus many other popular Latin food recipes. I hope you enjoy your visit!
Latest Recipes

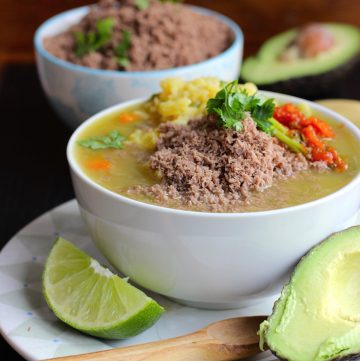
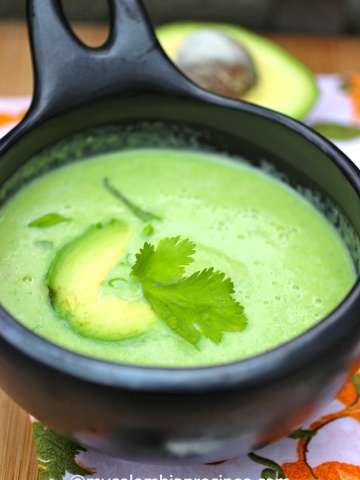
- Crema de Aguacate (Colombian Creamy Avocado Soup)
- Sopa de Pollo y Plátano Verde (Chicken and Green Plantain Soup)
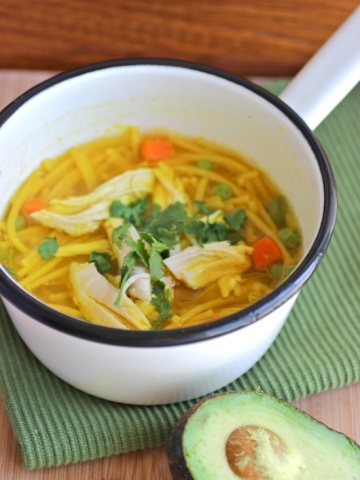
- Chicken Noodle Soup (Sopa de Pollo y Pasta)
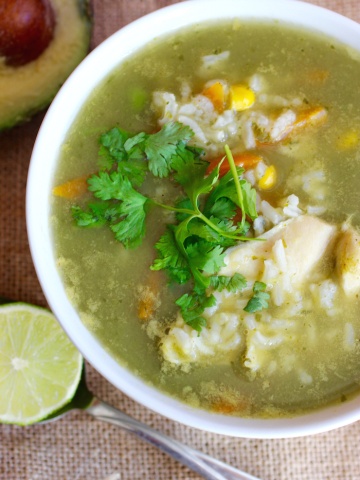
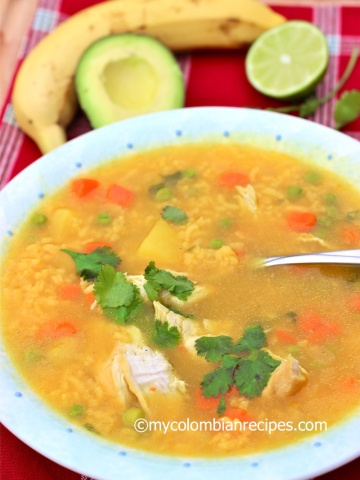
- Cilantro-Lime Rice and Chicken Soup
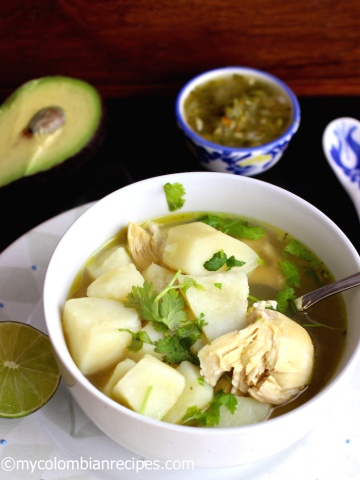
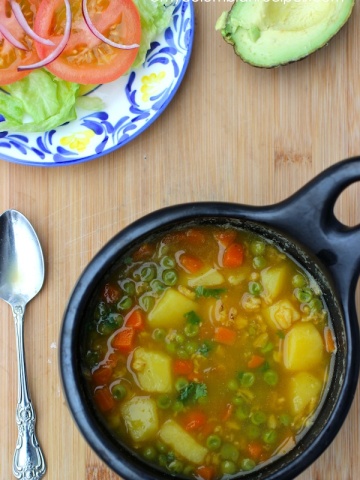
- Caldo de Pollo con Papa (Chicken and Potatoes Broth)
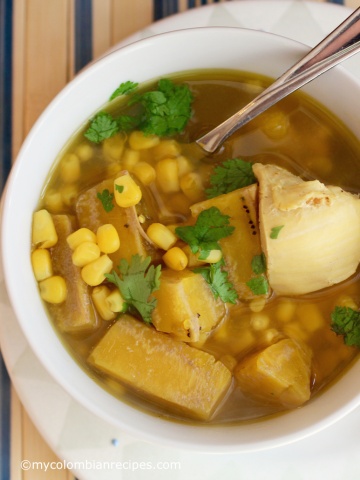
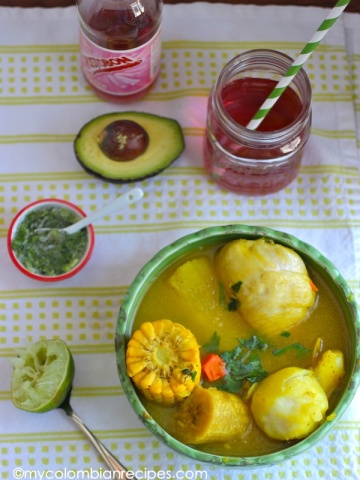
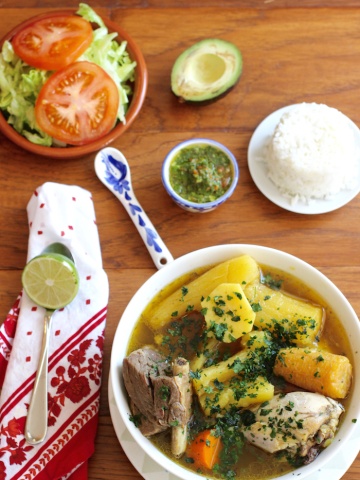
- Sancocho de Gallina (Chicken or Hen Sancocho)
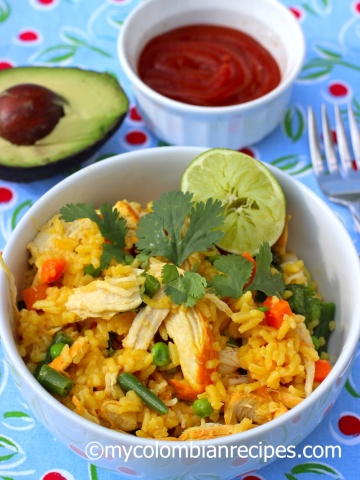
- Sopa de Arroz con Pollo (Rice and Chicken Soup)
- Sopa de Letras con Pollo (Alphabet and Chicken Soup)

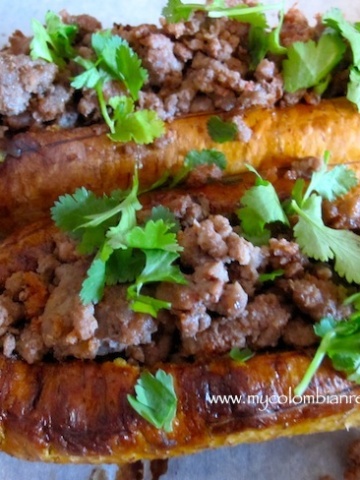
Main Dishes

See more main dishes →
Side Dishes

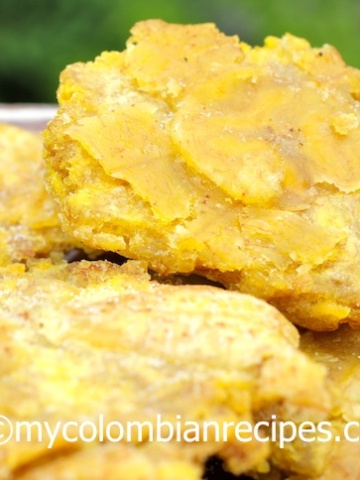
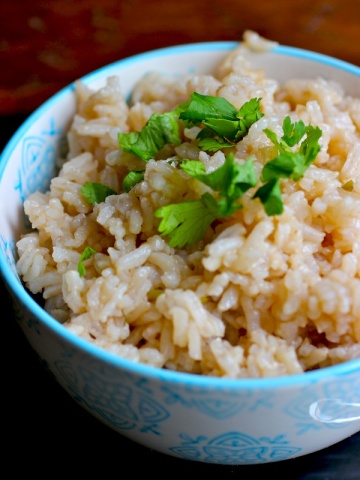
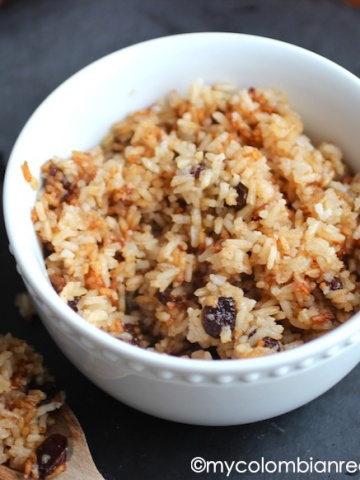
See more side dishes →
Desserts
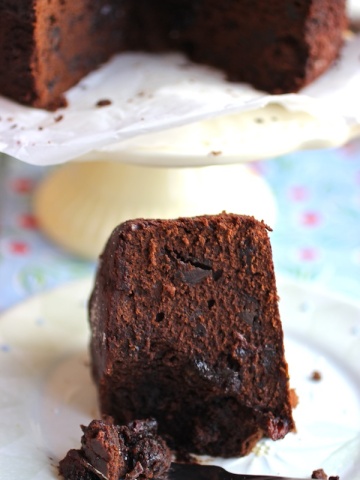

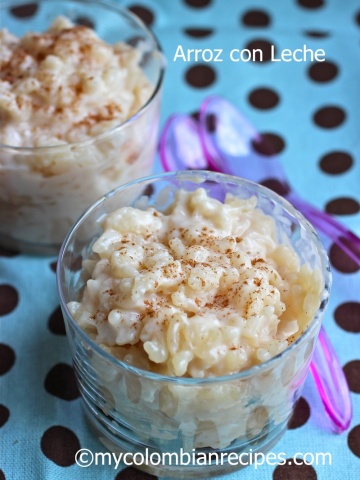

See more desserts →
Soups
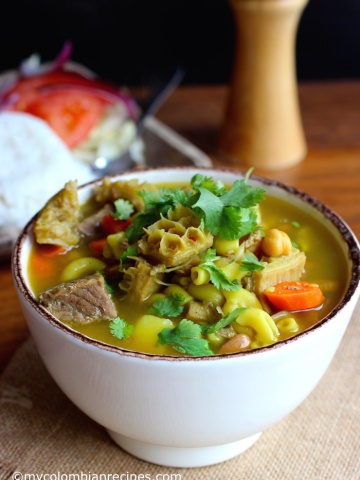
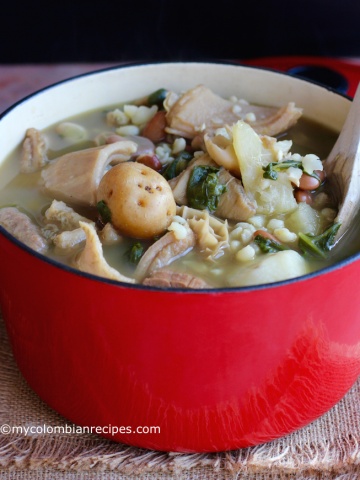
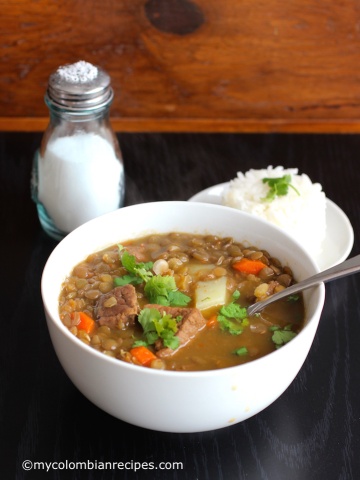
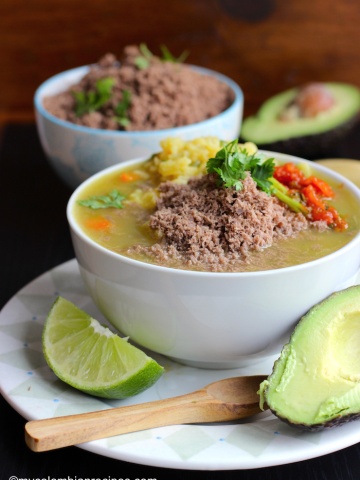
See more soups →
Appetizers and Snacks
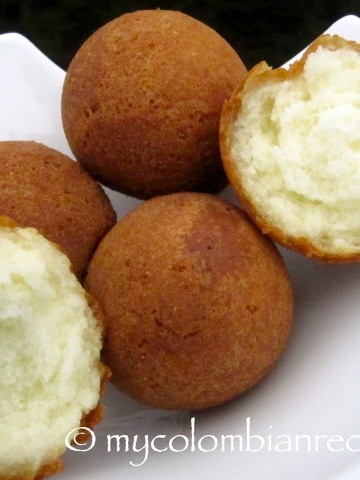
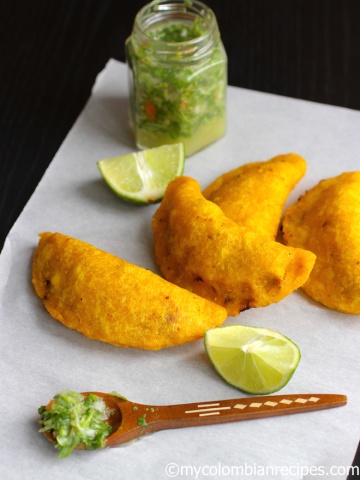
See more appetizers and snacks →